Easy Apple Hand Pies – Perfect Portable Pastries
Apple hand pies are more than just a dessert; they’re a portable hug, a pocketful of pure autumnal joy. Who doesn’t adore the comforting embrace of warm apples, spiced to perfection, all encased in a flaky, buttery crust? These delightful little pastries capture the essence of apple pie in a perfectly portioned, individual package, making them ideal for picnics, bake sales, or simply a cozy treat to enjoy with a cup of tea. What truly makes apple hand pies so special is their inherent charm and incredible versatility. They’re less intimidating than a full-sized pie, yet deliver all the same beloved flavors and textures. Whether you’re a seasoned baker or a kitchen novice, these charming apple hand pies are sure to become a treasured recipe in your repertoire, bringing smiles and satisfied sighs with every bite.
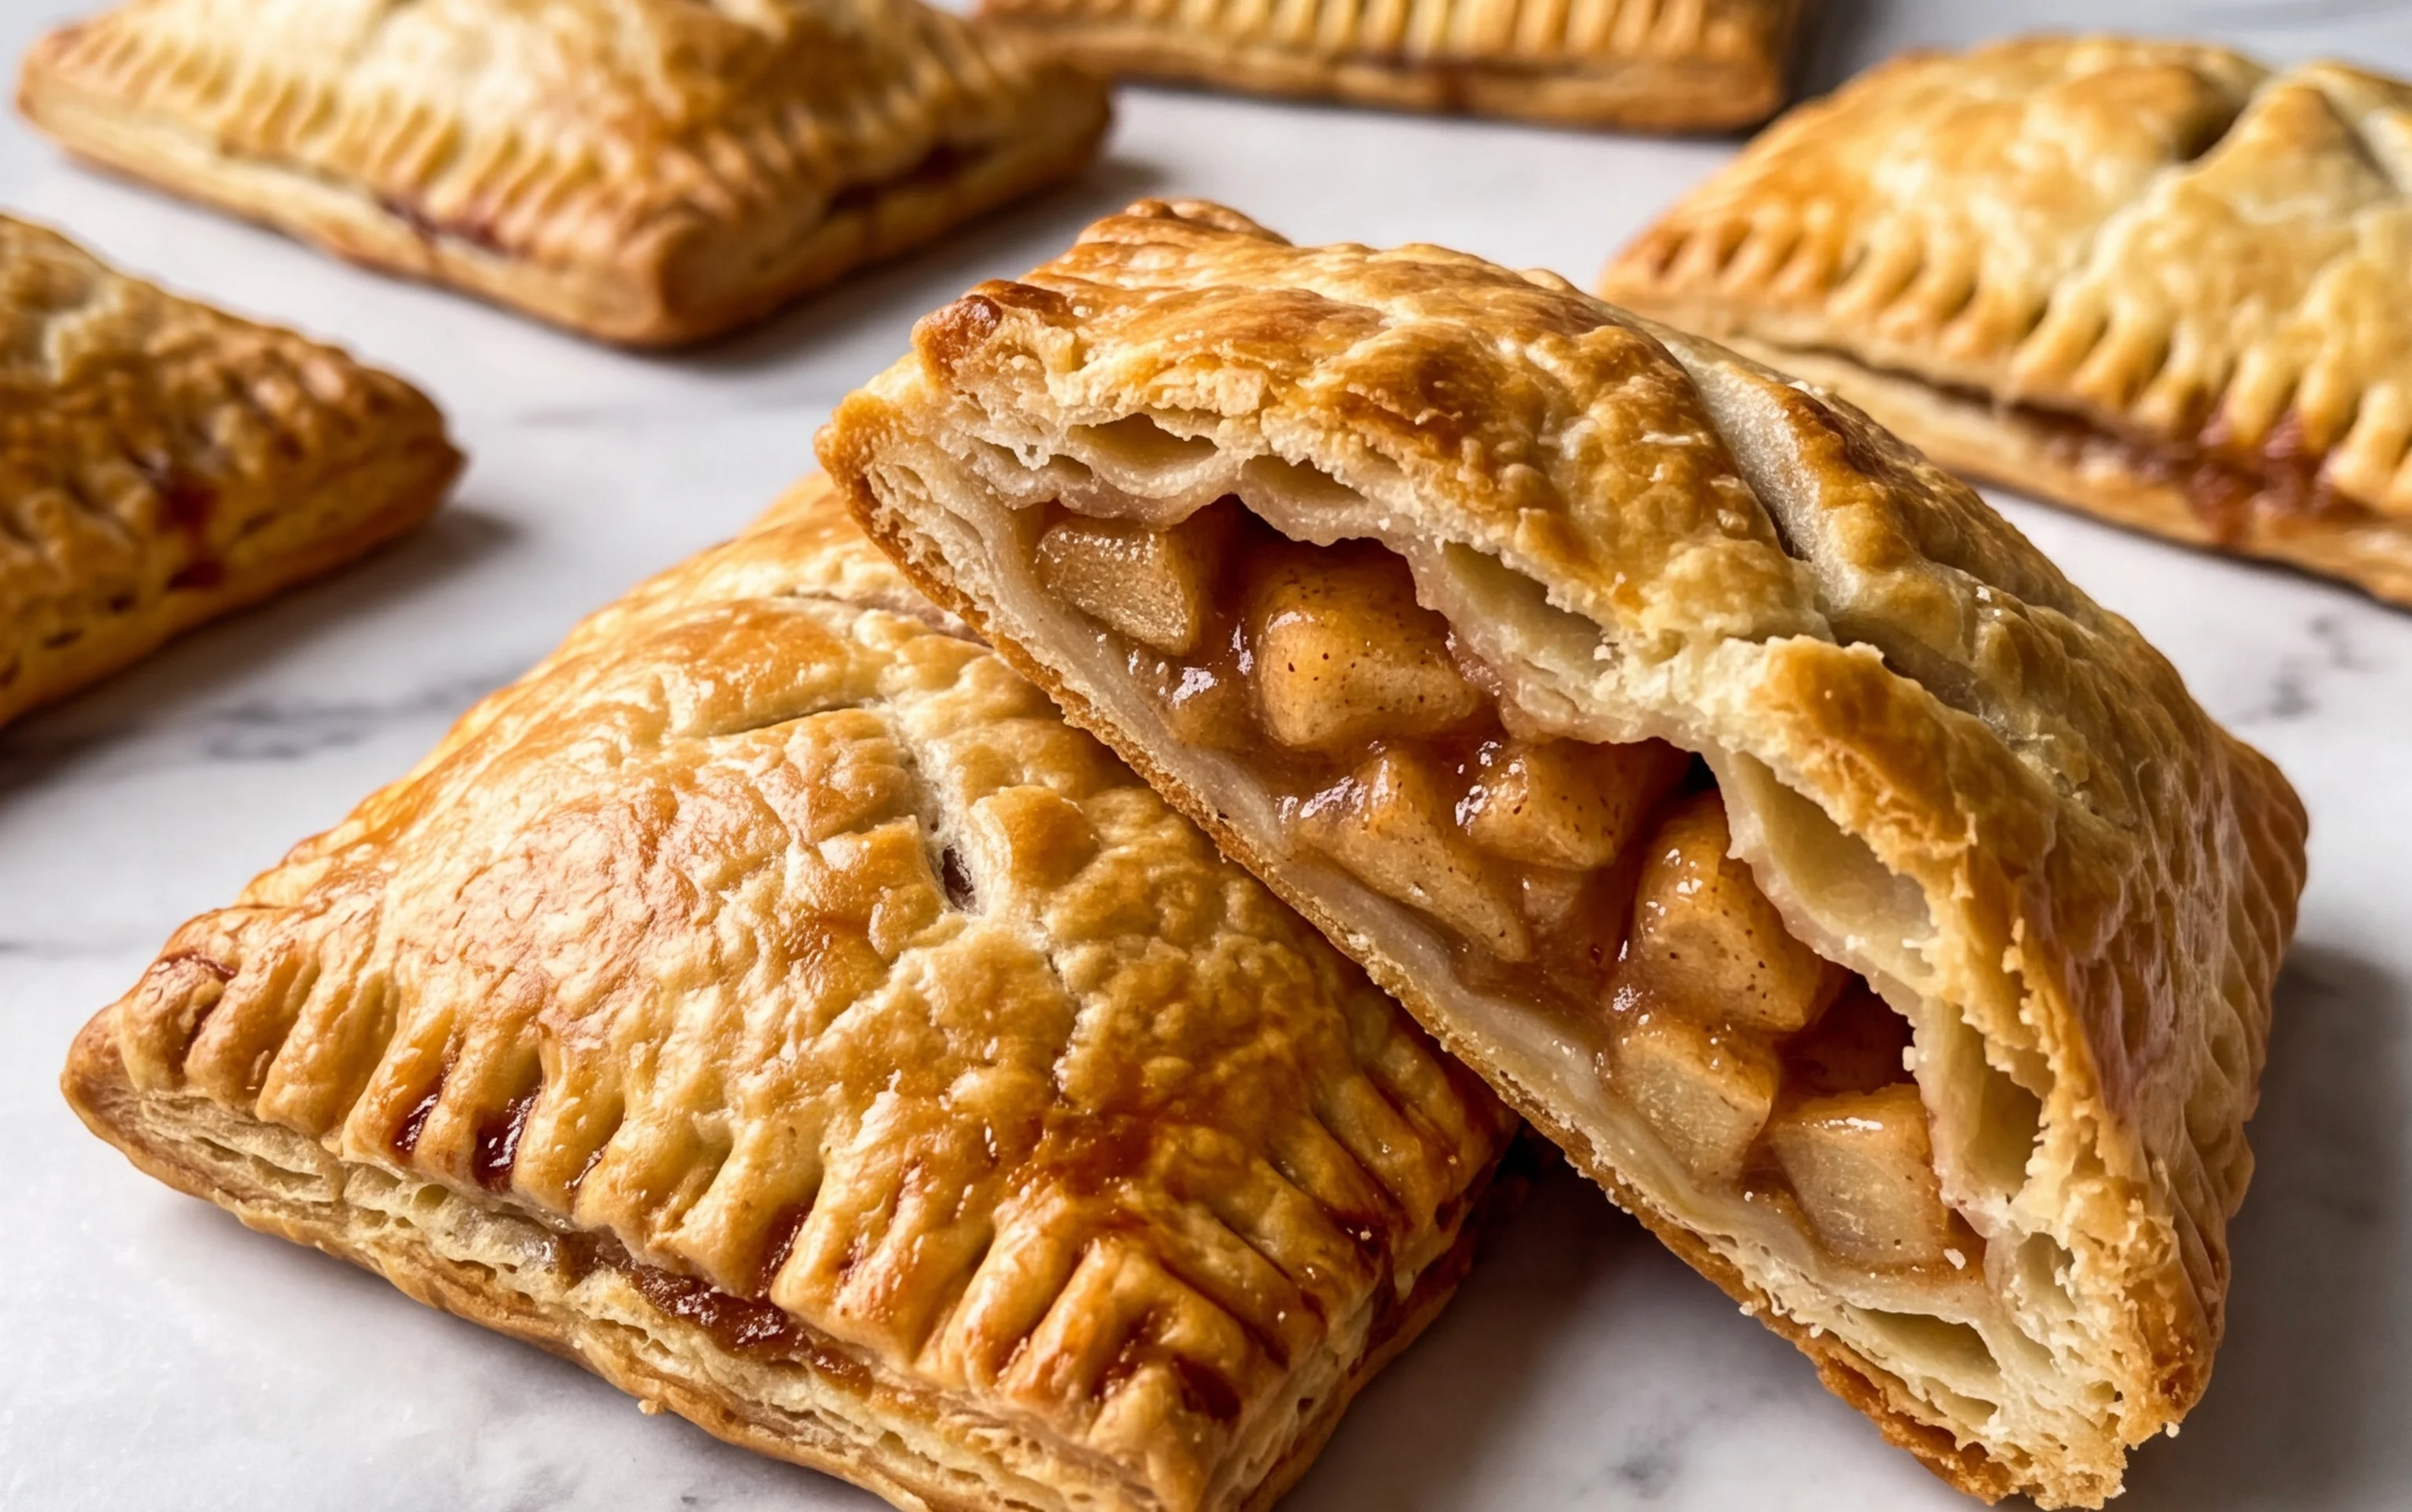
Apple Hand Pies
There’s something undeniably charming and utterly delicious about hand pies. These perfectly portable pastries are like little pockets of pure comfort, bursting with warm, spiced apple filling. They’re ideal for satisfying a sweet craving, enjoying with a cup of tea, or even packing for a delightful picnic. While they might look fancy, I promise you, they’re surprisingly easy to make. Whether you’re using a favorite homemade pie crust recipe or opting for the convenience of store-bought dough, the result is always a crowd-pleaser. Let’s get baking!
Ingredients:
- 1 homemade pie crust recipe, (or 2 boxes of store-bought pie crust dough)
- 2 cups apple pie filling, (or 1 can (21 ounces) store-bought apple pie filling)
- vegetable oil, (for frying)
- 4 cups (250 g) confectioners’ sugar
- 5-7 tablespoons whole milk, (or more or less until glaze reaches your desired consistency, room temperature)
Preparing the Dough and Filling
The foundation of any great hand pie is its crust and filling. If you’re going the homemade route for your crust, ensure it’s well-chilled and ready to roll. This will make it easier to handle and prevent shrinkage during baking or frying. If you’re using store-bought dough, simply unroll it according to the package directions.
For the apple pie filling, you can whip up your own by dicing about 3-4 medium apples (like Honeycrisp, Gala, or Fuji), tossing them with a tablespoon of flour, a quarter cup of sugar, a teaspoon of cinnamon, and a pinch of nutmeg. Alternatively, a good quality canned apple pie filling will work wonderfully and save you a significant amount of time. Make sure the filling is not too wet; you can drain off any excess liquid if necessary to prevent a soggy crust.
Assembling the Hand Pies
Once your dough is ready, lightly flour your work surface and gently roll out the pie crust to about 1/8-inch thickness. Using a round cookie cutter or a bowl with a diameter of about 5-6 inches, cut out circles from the dough. You should aim to get about 8-10 circles from a double-crust recipe or two boxes of store-bought dough. Gather any scraps, gently re-roll them, and cut out more circles until you’ve used up all the dough.
Now comes the fun part: filling! Take one dough circle and place about 2-3 tablespoons of apple pie filling in the center, leaving a 1/2-inch border around the edges. Be careful not to overfill, as this can make sealing the pies difficult and lead to leaks during cooking.
To seal the hand pies, lightly brush the edges of the dough circle with a little water or a beaten egg wash. This acts as a “glue.” Then, carefully place another dough circle on top of the filling. Gently press down the edges with your fingertips to seal them together. For an extra secure seal and a decorative touch, you can use the tines of a fork to crimp the edges all the way around. This also helps to prevent the filling from seeping out. Make sure there are no gaps! If you notice any small tears, you can patch them up with a bit of dough.
Cooking the Hand Pies
There are two main ways to cook these delightful hand pies: baking or frying.
Baking Method:
Preheat your oven to 375°F (190°C). Line a baking sheet with parchment paper. Place the assembled hand pies on the prepared baking sheet. If you want an extra golden and shiny crust, brush the tops of the hand pies with an egg wash (one egg beaten with a tablespoon of water) and sprinkle with a little granulated sugar. Cut a few small slits in the top of each hand pie with a sharp knife. This allows steam to escape during baking, preventing the crust from puffing up too much. Bake for 20-25 minutes, or until the crust is golden brown and the filling is bubbling. Let them cool on the baking sheet for a few minutes before transferring them to a wire rack to cool completely.
Frying Method:
If you prefer a crispier, golden-brown finish, frying is the way to go. In a large, heavy-bottomed pot or Dutch oven, heat about 2-3 inches of vegetable oil over medium-high heat to 350°F (175°C). It’s crucial to maintain the correct oil temperature; too hot and the outside will burn before the inside is cooked, too cool and the pies will absorb too much oil. Use a thermometer to monitor the temperature.
Carefully slide 2-3 hand pies into the hot oil at a time, making sure not to overcrowd the pot. Fry for 3-4 minutes per side, until they are a beautiful golden brown. Use a slotted spoon or spider strainer to carefully remove the pies from the oil. Place them on a wire rack set over a baking sheet to drain any excess oil.
Glazing the Hand Pies
Once your hand pies have cooled slightly (they’ll still be warm and inviting!), it’s time for the sweet, simple glaze. In a medium bowl, whisk together the confectioners’ sugar and 5 tablespoons of whole milk. Add the milk a tablespoon at a time, stirring until you achieve a smooth, pourable consistency. You’re looking for a glaze that’s thick enough to coat the back of a spoon but thin enough to drizzle easily. If it’s too thick, add a tiny bit more milk; if it’s too thin, add a little more confectioners’ sugar.
You can either dip the tops of the hand pies directly into the glaze, or use a spoon to drizzle it over them. If you have any extra zest, you could add a pinch of cinnamon or a drop of vanilla extract to the glaze. For an extra touch of indulgence, you could even sprinkle them with a few colorful nonpareils or a dash of cinnamon sugar while the glaze is still wet. Allow the glaze to set for about 10-15 minutes before serving.
Enjoy these delightful apple hand pies warm or at room temperature. They’re a truly satisfying treat, perfect for any occasion!
Conclusion:
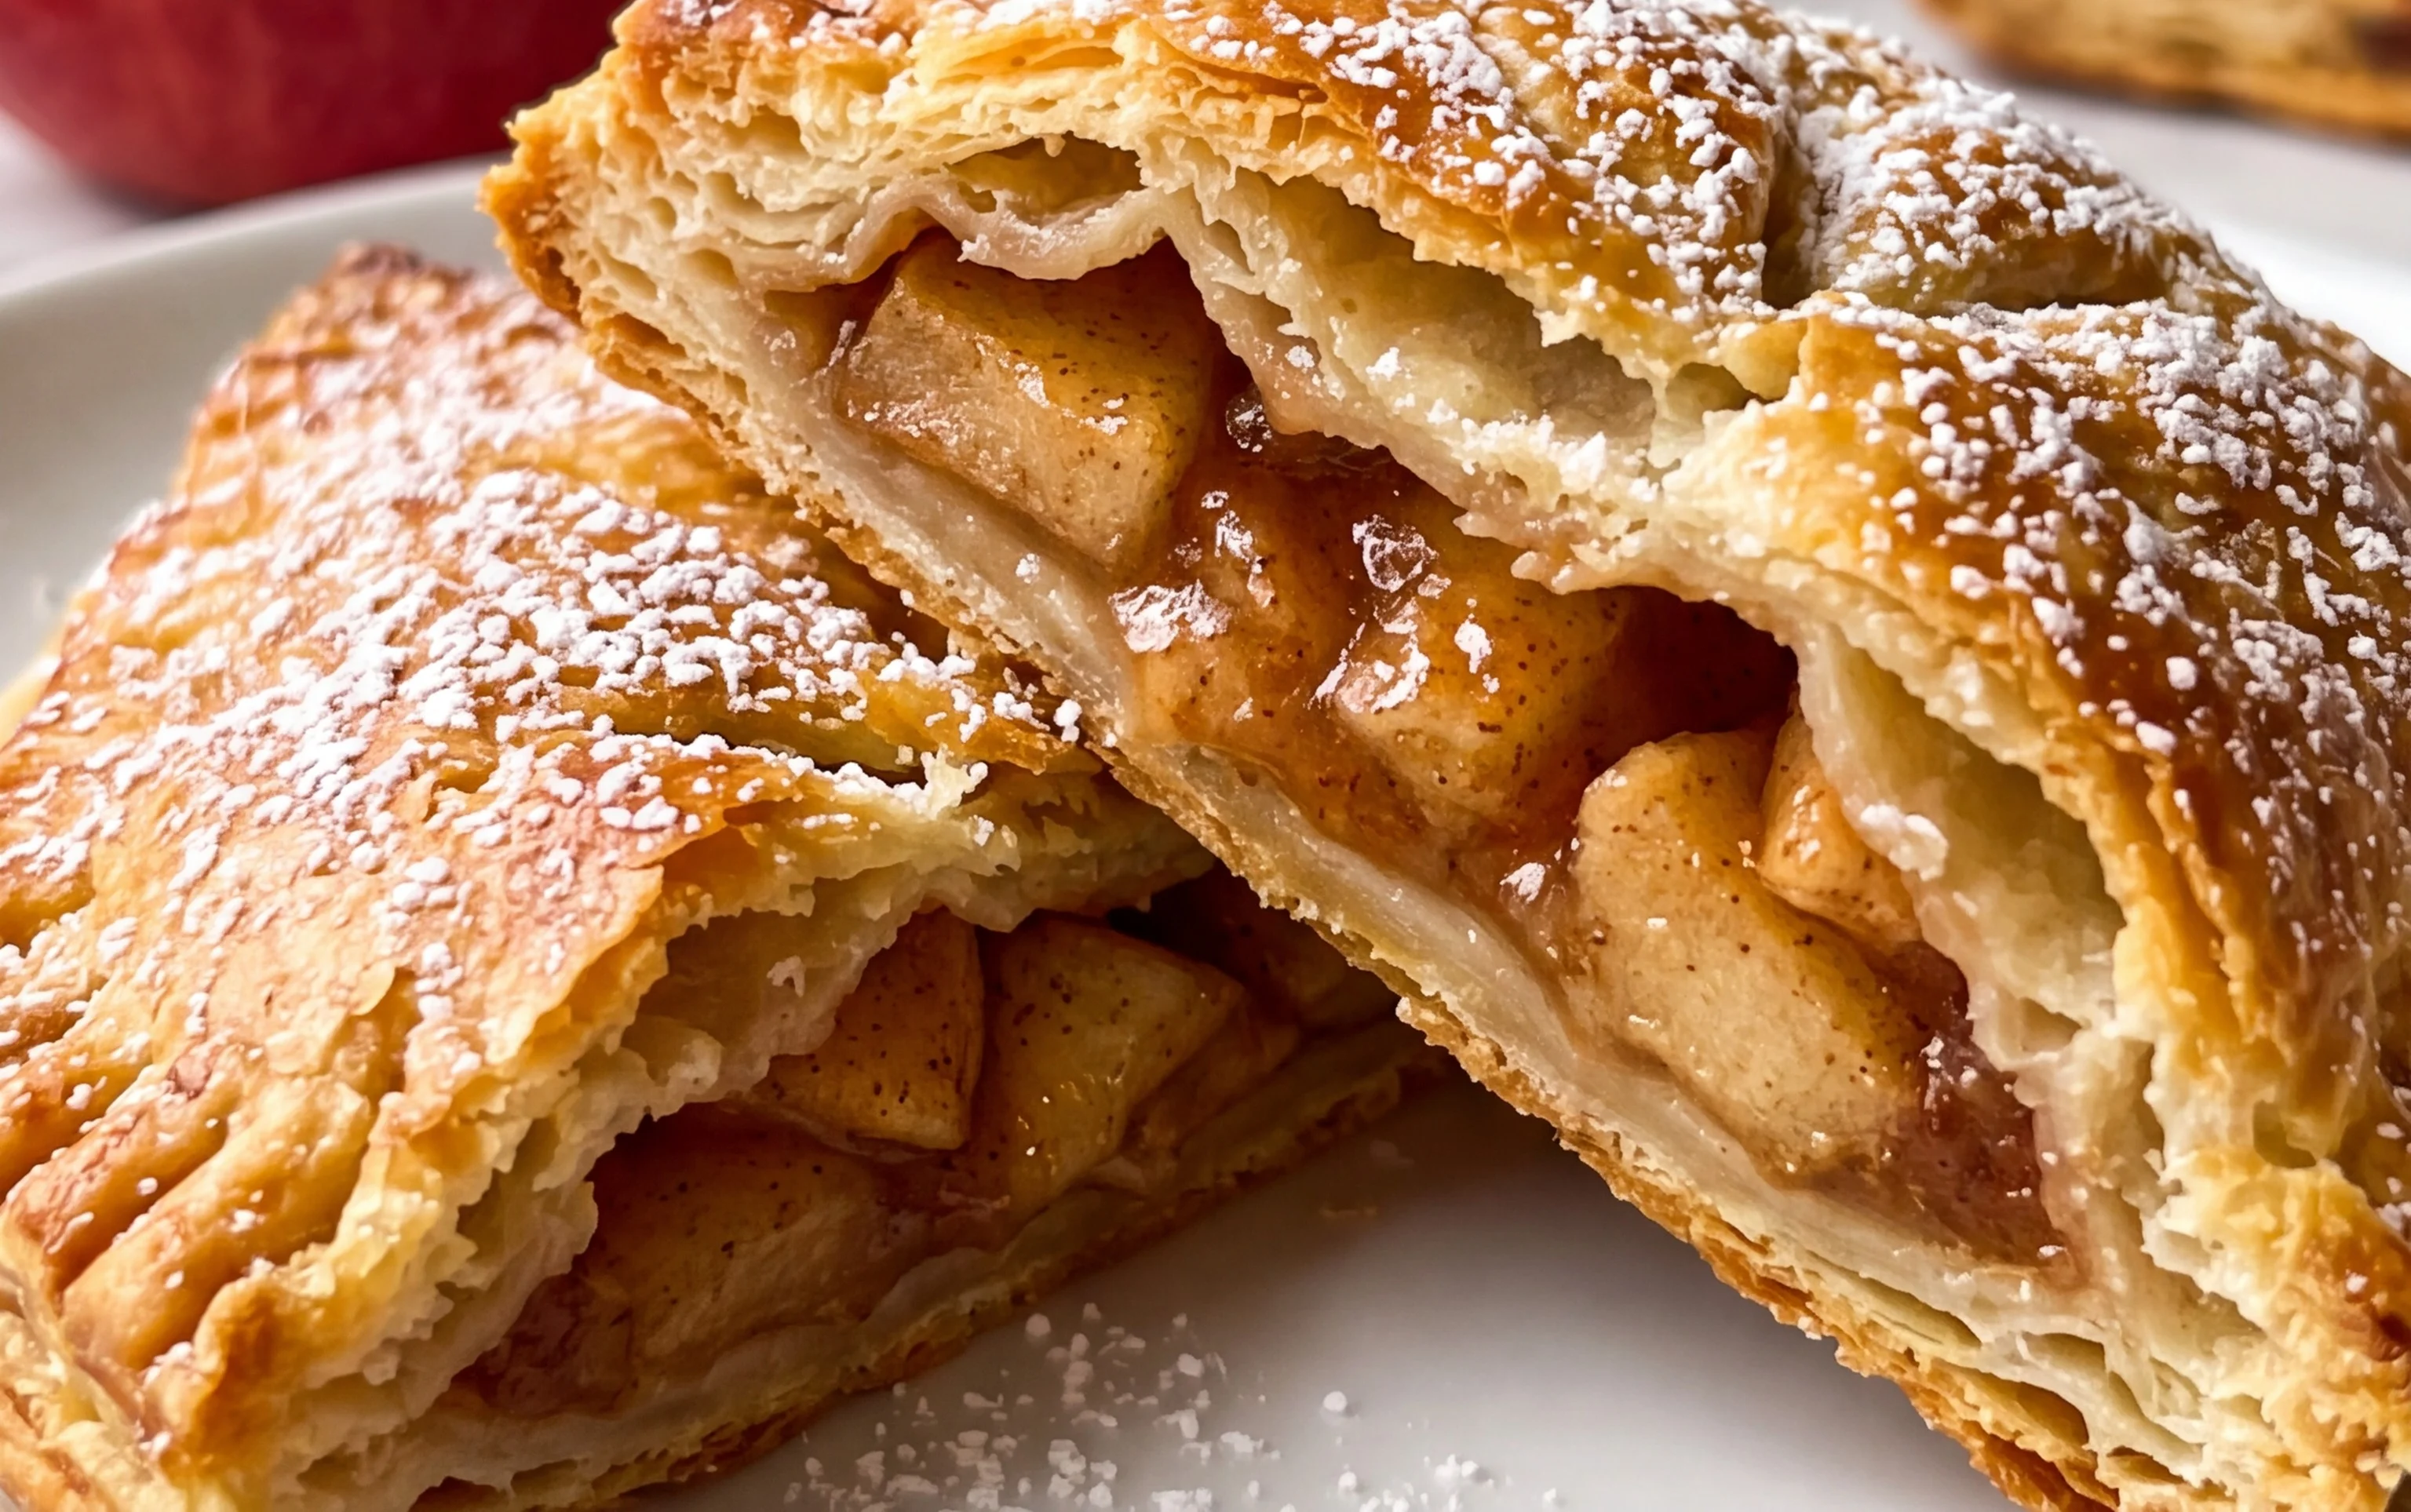
I hope you’re as excited to bake these delightful Apple Hand Pies as I am to eat them! They truly are a perfect treat, offering that comforting, warm apple pie flavor in a convenient, portable package. The flaky, buttery crust paired with the sweet and slightly tart apple filling is simply irresistible. Whether you’re looking for a charming dessert for a gathering, a sweet snack to enjoy with your afternoon coffee, or a way to use up those fresh apples, these hand pies are a fantastic choice. They’re relatively simple to make, making them accessible for bakers of all skill levels.
For serving, I love them warm, perhaps with a dollop of vanilla ice cream or a drizzle of caramel sauce. They are also wonderful at room temperature. Don’t be afraid to get creative with your fillings! Consider adding a pinch of nutmeg, a tablespoon of orange zest, or even some dried cranberries for a festive twist. The possibilities are endless. So, please, give these Apple Hand Pies a try. I’m confident you’ll fall in love with them just as much as I have!
Frequently Asked Questions:
Can I make the dough ahead of time?
Absolutely! The pie dough can be made up to 2 days in advance and stored tightly wrapped in the refrigerator. You can also freeze the dough for up to 3 months. Just be sure to let it thaw completely in the refrigerator before rolling it out.
What kind of apples are best for these hand pies?
A mix of sweet and tart apples works best for the most balanced flavor. I recommend using a combination of varieties like Granny Smith for tartness and Honeycrisp or Fuji for sweetness. This blend ensures a delicious apple filling that isn’t too mushy or too bland.
How long do these hand pies last?
Once cooled, Apple Hand Pies can be stored in an airtight container at room temperature for up to 2 days, or in the refrigerator for up to 4 days. Reheating them gently in a low oven will help revive the flakiness of the crust.
Apple Hand Pies
Delicious individual apple hand pies, perfect for a sweet treat. These can be fried or baked and topped with a simple glaze.
Ingredients
-
1 homemade pie crust recipe (or 2 boxes of store-bought pie crust dough)
-
2 cups apple pie filling (or 1 can (21 ounces) store-bought apple pie filling)
-
vegetable oil (for frying)
-
4 cups (250 g) confectioners’ sugar
-
5-7 tablespoons whole milk (room temperature)
Instructions
-
Step 1
Prepare your pie crust according to your recipe or unroll store-bought dough. If using store-bought, let it sit at room temperature for a few minutes to make it pliable. -
Step 2
Cut out circles from the pie dough, approximately 5-6 inches in diameter. You can use a large cookie cutter or a bowl. -
Step 3
Spoon about 1/4 cup of apple pie filling onto one half of each dough circle, leaving a small border around the edge. -
Step 4
Moisten the edges of the dough with a little water or egg wash, then fold the other half of the dough over the filling to create a semi-circle. Crimp the edges with a fork to seal. -
Step 5
For frying: Heat vegetable oil in a deep skillet or pot to 350°F (175°C). Carefully place hand pies into the hot oil, a few at a time, and fry for 2-3 minutes per side until golden brown. -
Step 6
For baking (alternative): Place hand pies on a baking sheet and bake in a preheated oven at 375°F (190°C) for 15-20 minutes, or until golden brown. -
Step 7
While the hand pies are cooling, whisk together the confectioners’ sugar and whole milk until you achieve a smooth, pourable glaze consistency. Add more milk if needed. -
Step 8
Drizzle the glaze over the warm hand pies and let it set before serving.
Important Information
Nutrition Facts (Per Serving)
It is important to consider this information as approximate and not to use it as definitive health advice.
Allergy Information
Please check ingredients for potential allergens and consult a health professional if in doubt.